Follow Me On Social Media!

Chocolate Rolls Made Irresistibly Soft and Gooey at Home
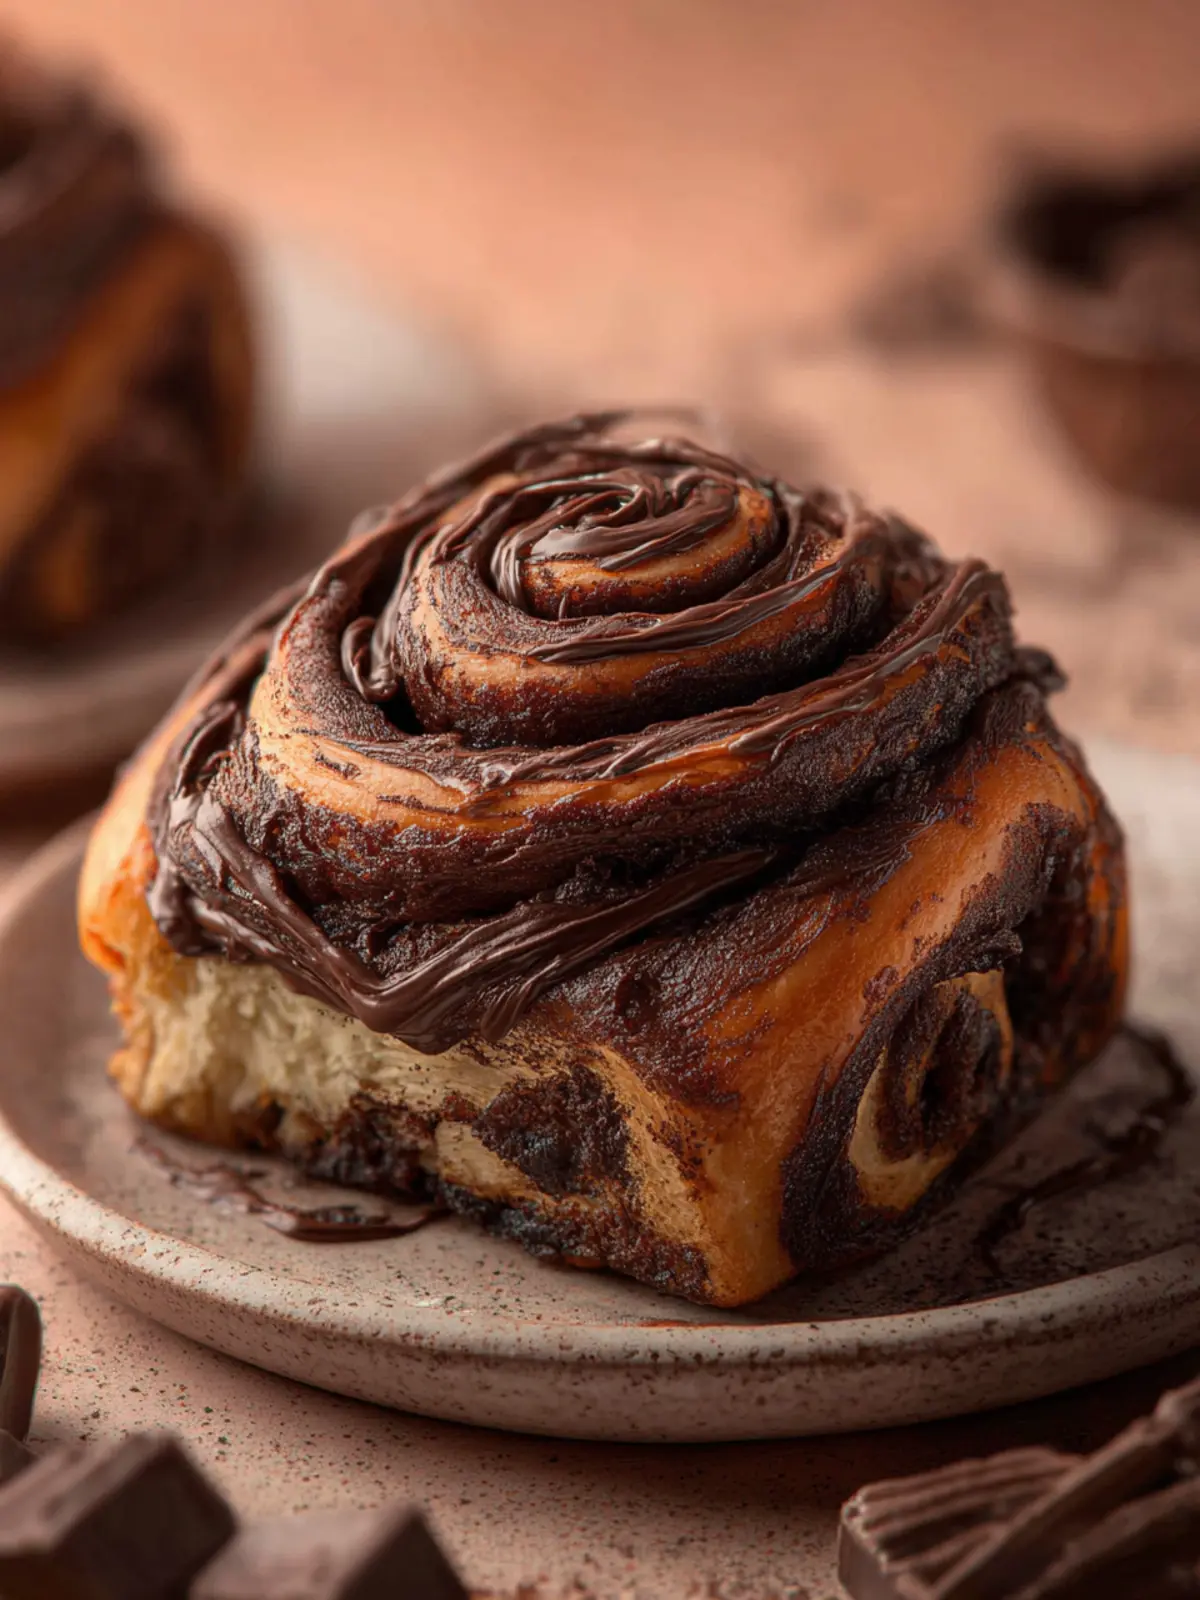
Introduction to Chocolate Rolls
Imagine a warm afternoon, the scent of chocolate rolls wafting through the air, evoking feelings of comfort and nostalgia. There’s something undeniably captivating about these delightful treats that can brighten anyone’s day. With each fluffy nibble, you’re transported back to childhood memories of baking with family or sharing sweet moments with friends. Chocolate rolls are more than just a delicious dessert; they are a warm hug in pastry form.
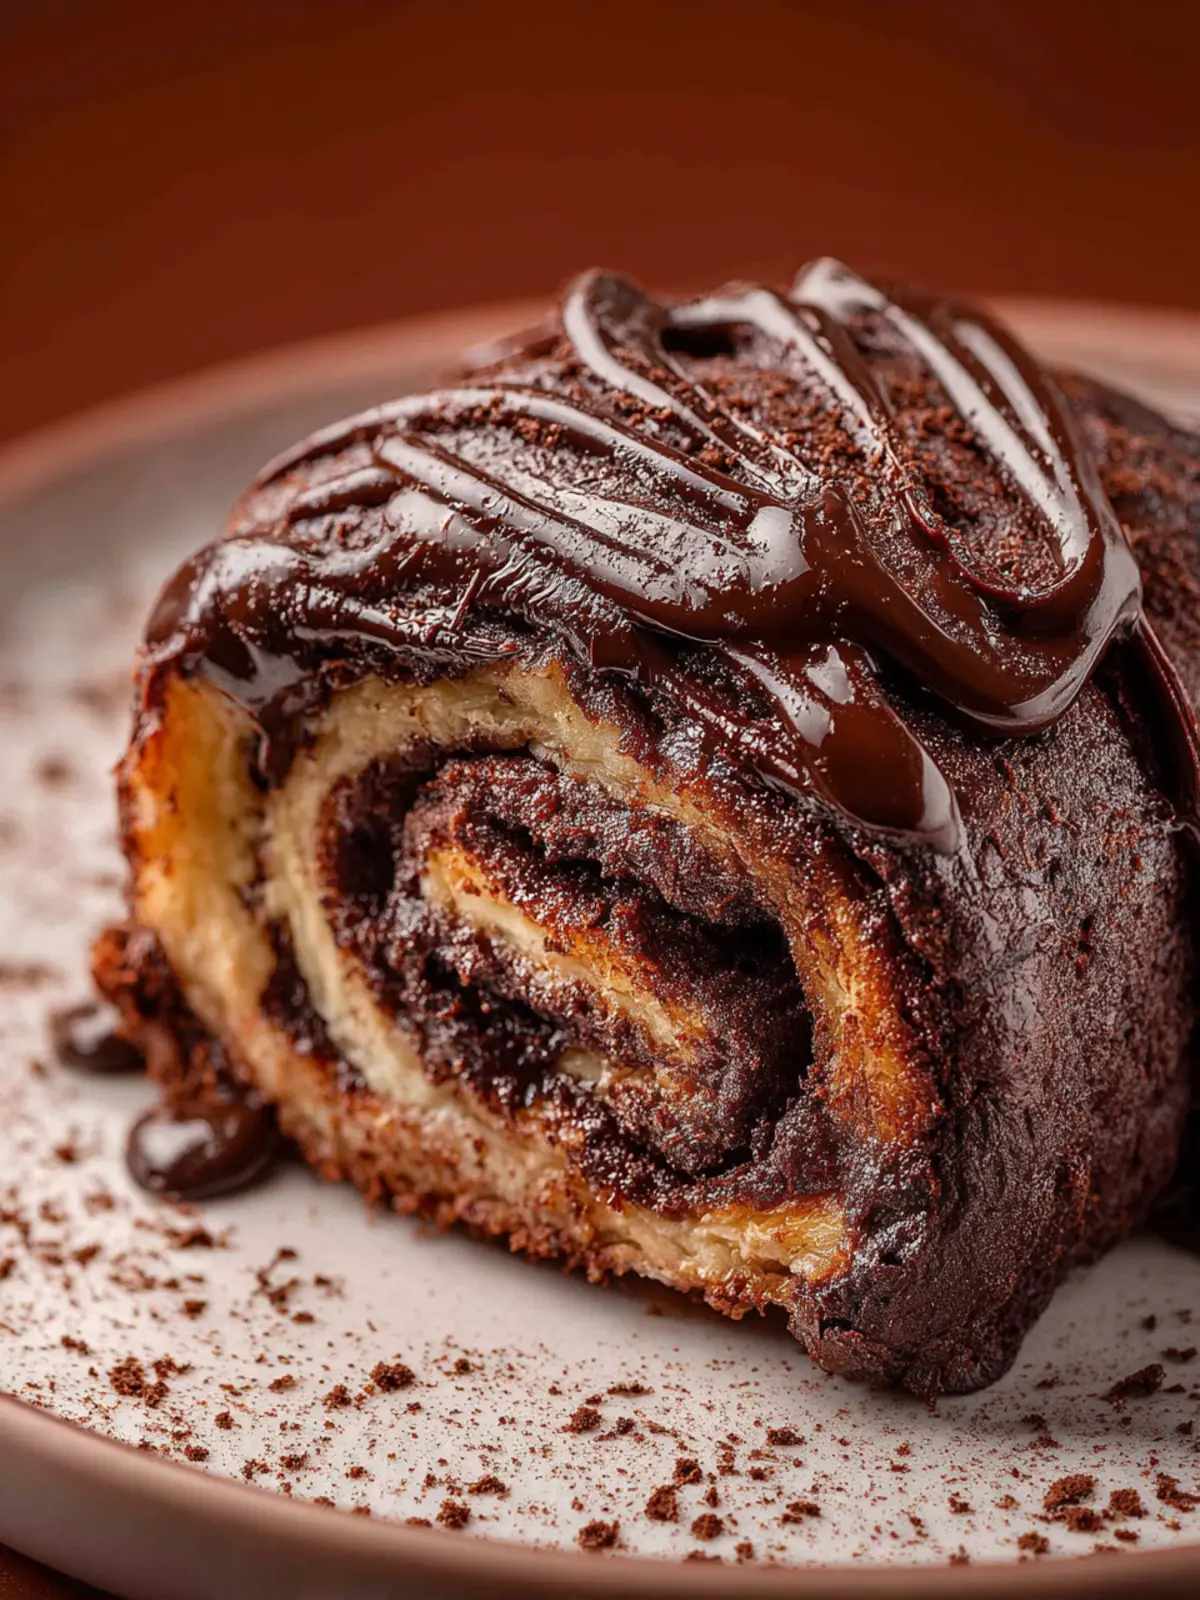
What makes chocolate rolls so special? First, they offer a unique blend of textures—a soft, pillowy exterior encasing a rich, gooey chocolate center. It’s like biting into a small cloud filled with decadent sweetness, making every bite a little moment of joy. Traditionally made with simple ingredients, these rolls are surprisingly easy to whip up, even for novice bakers.
These enticing treats also possess a versatile quality that sets them apart. They can be enjoyed fresh out of the oven, warmed up the next day, or even served as a sophisticated dessert at gatherings. Plus, they can be customized in countless ways—from adding nuts or spices to experimenting with different types of chocolate. Each iteration brings its own unique character to the table.
Beyond their weekend baking allure, chocolate rolls are perfect for impressing guests or simply indulging yourself after a long day. There’s a satisfaction that comes from pulling a freshly baked tray out of the oven, knowing you’ve created something delightful from scratch. Sharing these rolls transforms a regular meal or gathering into a memorable occasion, leaving your friends and family clamoring for seconds.
So, whether you’re a seasoned baker or just someone looking to add a touch of sweetness to your life, chocolate rolls are worth exploring. Let’s dive into the delightful world of baking these scrumptious rolls, where the only challenge is not devouring them all in one sitting!
What Makes Chocolate Rolls So Special?
The allure of chocolate rolls lies in their balance of flavors and textures. The combination of soft dough paired with rich chocolate creates a symphony of sweetness that is hard to resist. And let’s not forget that they are incredibly easy to make, requiring minimal ingredients and effort while delivering maximum satisfaction.
Key Ingredients for Chocolate Rolls
Chocolate: At the heart of any great chocolate rolls is, of course, the chocolate itself. I prefer using high-quality dark chocolate for a richer flavor profile, but semi-sweet chocolate also works beautifully if you enjoy a sweeter touch.
Dough: The base of these rolls is a soft, pillowy dough made with all-purpose flour. It’s essential to knead it until smooth to create that delectable texture you’ll want to dive into.
Butter: I always use unsalted butter since it gives me control over the salt levels in the dough. The butter not only imparts a rich flavor but also contributes to the overall tenderness of the rolls.
Sugar: A combination of granulated sugar and brown sugar helps to balance the sweetness and adds moisture to the dough. Trust me, it makes a difference!
Eggs: Eggs are critical for binding the ingredients together and giving the rolls their lovely airy structure. Just what you need to keep your chocolate rolls light and fluffy!
Baking Powder: This ingredient acts as a leavening agent, ensuring that your rolls rise perfectly for that pillowy finish.
Milk: Adding milk into the mix enhances moisture and gives your rolls the creamy texture we all love, making every bite a delight.
By choosing fresh and quality ingredients, you’re well on your way to creating the chocolate rolls of your dreams!
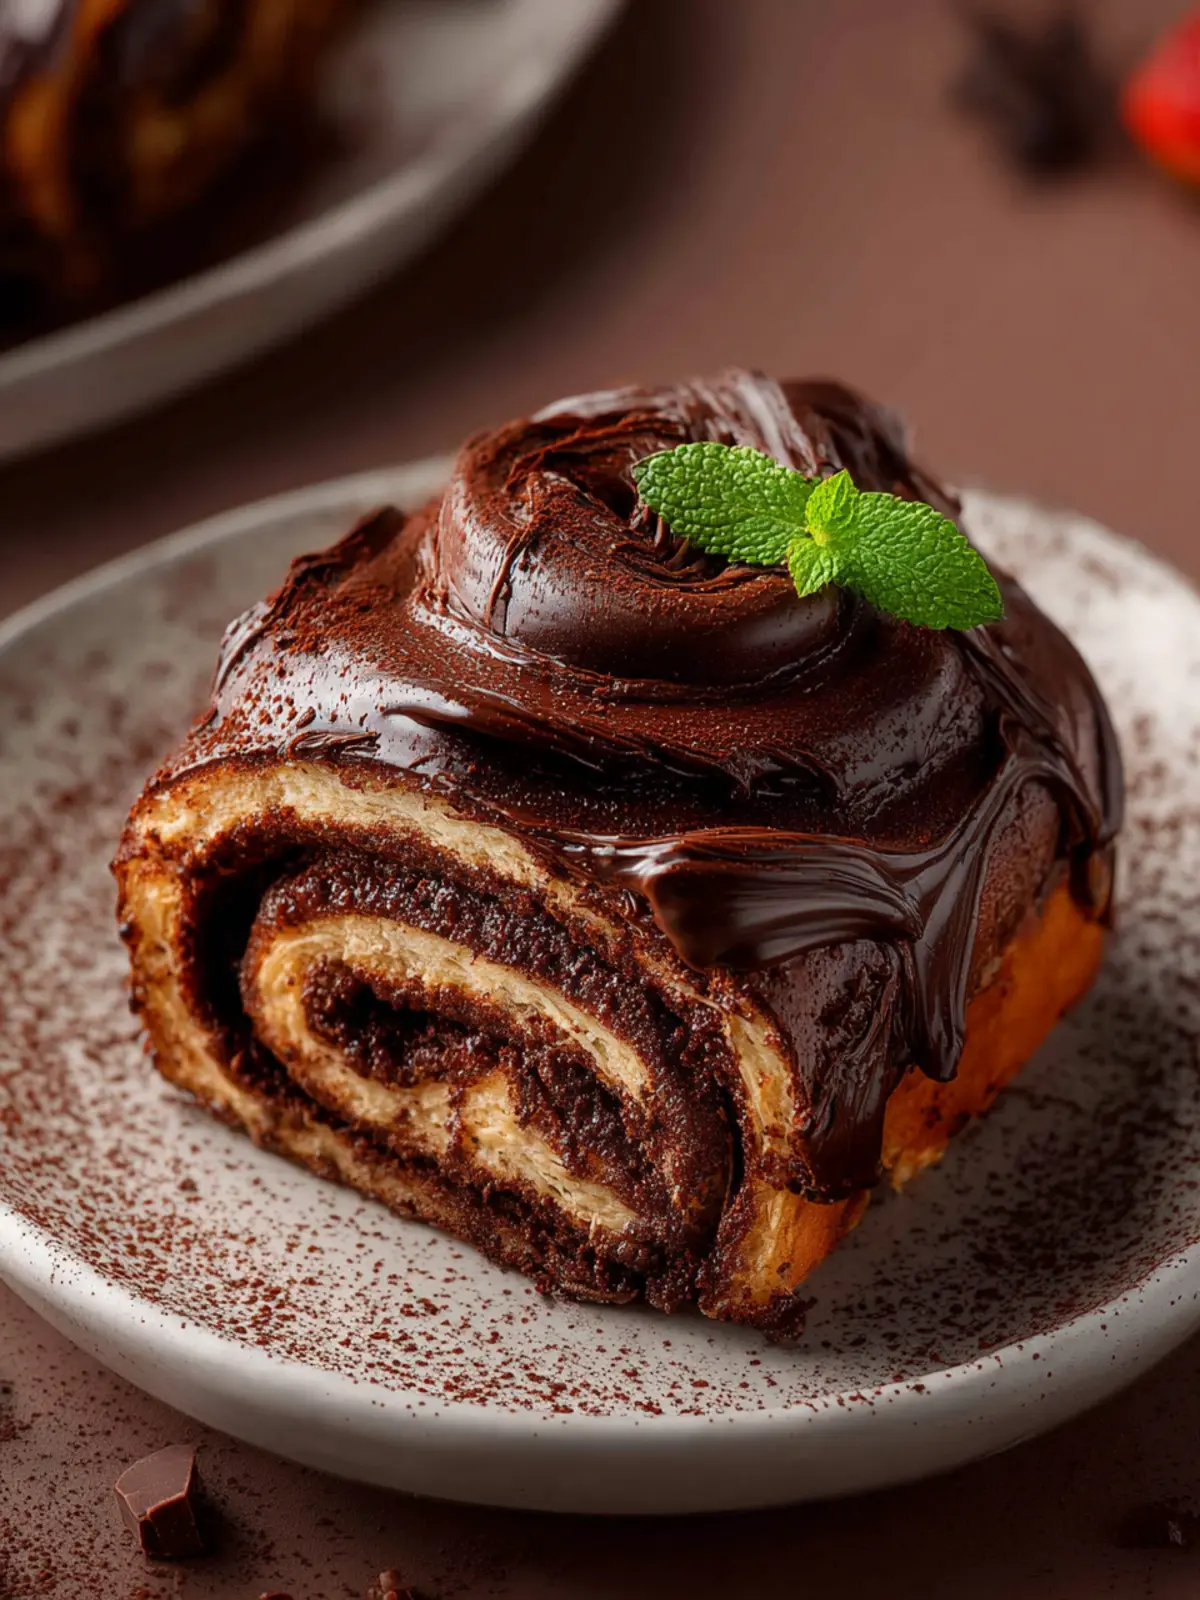
Why You’ll Love These Chocolate Rolls
The moment you bite into a chocolate roll, you’re transported to a world where rich flavors and cozy memories blend seamlessly together. Picture yourself in a quaint café, sipping on a warm cup of coffee, as you indulge in these soft, sweet rolls.
Irresistible Flavor Combination
These chocolate rolls aren’t just a treat; they’re an experience. The dough is fluffy and tender, making each bite a delightful contrast to the smooth, melted chocolate that fills each roll. Whether you’re serving them for breakfast or as a decadent dessert, the combination of sweet and rich flavors will knock your socks off.
Versatile and Fun to Make
One of the best parts about these chocolate rolls is how versatile they are. You can add a sprinkle of sea salt on top for a sweet-salty twist or incorporate your favorite nuts for some added crunch. Plus, making these rolls can be a fun weekend project, whether you’re baking alone or getting friends involved.
Perfect for Any Occasion
Whether it’s a casual Sunday brunch, a festive gathering, or an intimate dinner, these chocolate rolls elevate any occasion. They pair beautifully with coffee or tea, becoming the centerpiece of your dessert table.
Indulge in the joy of baking and savor every bite; these chocolate rolls are sure to become a beloved staple in your recipe collection!
Tips for Making Perfect Chocolate Rolls
Baking chocolate rolls can feel like a delightful challenge, especially when aiming for that ideal fluffy, yet rich texture that melts in your mouth. Let’s dive into some tips to perfect your baking game!
Common Mistakes to Avoid
- Overmixing the Dough: It’s tempting to mix until everything is perfectly uniform, but overmixing can lead to tough rolls. Blend just until combined for the best results.
- Incorrect Oven Temperature: Always preheat your oven properly. An oven that’s too hot can cause the rolls to rise too quickly, leading to cracks and uneven textures.
- Not Allowing Enough Rising Time: Patience is key! Allow your rolls to rise adequately before baking. This step develops both texture and flavor, ensuring your chocolate rolls are light and fluffy.
Tweaks for a Different Twist
- Flavor Variations: Experiment with adding a splash of espresso or a hint of orange zest to the chocolate mixture for an unexpected flavor boost.
- Fillings: Instead of plain chocolate, try incorporating nuts, dried fruits, or even a dollop of peanut butter for a nutty twist.
- Frostings: Consider glazing your rolls with a rich ganache or a light cream cheese frosting to elevate the sweetness and add a beautiful finish.
With these tips in mind, you’re well on your way to crafting gorgeous and delicious chocolate rolls that will impress everyone! Happy baking!
Time Details for Chocolate Rolls
Creating delicious chocolate rolls is an experience that requires careful timing to achieve that perfect blend of texture and flavor. Here’s a handy breakdown to keep you on track throughout your baking journey.
Preparation Time
The journey begins with about 30 minutes for preparation. This includes mixing the ingredients, kneading the dough, and setting everything in motion.
Rising Time
Patience is key during the rising phase, which takes approximately 1 hour. This step allows the chocolate rolls to develop a light and airy texture, making them irresistible once baked.
Baking Time
After rising, your rolls will need around 25 minutes in the oven to transform into a golden-brown delight, filling your kitchen with heavenly aromas.
Total Time
When you combine all these steps, you’re looking at a total time of about 2 hours and 55 minutes from start to finish. This includes prep, rising, and baking—well worth the wait for those delectable chocolate rolls!
Nutritional Information for Chocolate Rolls
Understanding the nutrition behind your favorite treats can enhance your baking experience! These delightful chocolate rolls not only satisfy your sweet tooth but also bring some nutritional facts to the table.
Calories
A serving of chocolate rolls typically contains around 250-300 calories. These rich rolls are a delightful indulgence that’s balanced enough to enjoy without guilt.
Carbohydrates
With approximately 35-40 grams of carbohydrates per serving, chocolate rolls provide quick energy, perfect for those busy days or after a workout.
Protein
You can expect about 4-5 grams of protein in each serving. While not a significant source, it does add a touch to your daily intake.
Fat
These rolls are rich in flavor due to their fat content, averaging 12-15 grams per serving. Most of this comes from the butter and chocolate, giving them that irresistibly moist texture.
Next time you whip up a batch of chocolate rolls, you can savor them knowing a little more about what’s inside!
FAQs about Chocolate Rolls
Creating the perfect chocolate rolls is a delightful experience, often filled with questions as you embark on this sweet culinary journey. Here are some frequently asked questions that can help guide you along the way!
Can I freeze the Chocolate Rolls?
Absolutely! Chocolate rolls can be frozen before or after baking. If you choose to freeze them before baking, wrap the unbaked rolls tightly in plastic wrap and then foil. When you’re ready to enjoy them, let them thaw in the fridge overnight and bake as usual. Baked rolls can also be frozen; just make sure they are fully cool before wrapping. They can last up to three months in the freezer!
What can I do if my dough doesn’t rise?
If your chocolate rolls dough isn’t rising, there could be several reasons. First, check if your yeast is still active; simply proof it in warm water with sugar. If it bubbles, it’s good to use! Also, ensure your dough is in a warm, draft-free space to rise. If the environment is too cold, it can hinder the rising process.
Can I add extra ingredients to the filling?
Definitely! The beauty of chocolate rolls lies in their versatility. You could experiment with nuts, dried fruits, or even a splash of your favorite liqueur for added flavor. Just remember not to overload the filling, as it might make the dough hard to roll.
How do I store leftover Chocolate Rolls?
Store any leftover chocolate rolls in an airtight container at room temperature for up to two days. If you prefer them longer-lasting, keep them in the fridge for up to a week. For a warm, fresh taste, simply reheat them in the oven for a few minutes before serving. Enjoy your chocolaty creations!
Conclusion on Chocolate Rolls
In the enchanting world of baking, chocolate rolls stand out as a warm embrace in dessert form. These delightful pastries offer a perfect balance of rich chocolate and soft dough, resulting in an indulgent treat that simply melts in your mouth. Whether you serve them at a gathering or enjoy them as a personal indulgence, the joy of creating these rolls is equally rewarding. As you dive into this recipe, remember it’s not just about the ingredients or the process; it’s about the memories made along the way. Happy baking—may your chocolate rolls bring sweetness to every occasion!
Print
Cinnamon Rolls
- Total Time: 1 hour 45 minutes
- Yield: 12 rolls 1x
- Diet: Vegetarian
Description
These delicious cinnamon rolls are soft and fluffy with a sweet glaze on top.
Ingredients
Scale
- 1 cup (240 ml) milk (lukewarm, about 120-130°F)
- 2 ¼ teaspoons instant yeast
- ⅓ cup (100 g) granulated sugar (divided)
- 2 large eggs (room temperature)
- 6 Tablespoons (85 g) unsalted butter (melted and slightly cooled, not hotter than 110°F)
- 4–5 cups (480 – 600 g) all-purpose flour (spooned and leveled)
- 1 teaspoon salt
- ½ cup (113 g, 1 stick) unsalted butter (softened to room temperature)
- ½ cup (64 g) powdered sugar
- ¼ cup (21 g) Dutch-process cocoa powder
- ½ teaspoon vanilla extract
- 4 ounces semi-sweet or bittersweet chocolate (chopped)
- 1 cup (113 g) powdered sugar
- ¼ cup (21 g) Dutch cocoa powder
- ½ teaspoon vanilla extract
- 3–4 Tablespoons milk (or heavy cream)
Instructions
- Proof yeast: In your stand mixer, or large bowl, stir together the warmed milk, yeast, and 1 teaspoon of the sugar. Let sit for 5-10 minutes until the yeast mixture becomes foamy and bubbly.
- Make dough: In a bowl of your stand mixer with a paddle attachment, add in the eggs and melted butter and stir to combine. Then add in the rest of the sugar, flour, and salt, and stir to combine until a shaggy dough comes together.
- Knead the dough: Fit the mixer with a dough hook attachment, and knead at medium speed for 6-8 minutes. If the dough is super sticky, add additional flour a little at a time if needed. If you are kneading the dough by hand, then turn the dough out onto a lightly floured surface and knead for 8-10 minutes by hand. The dough should still be slightly sticky to the touch but feel smooth and elastic.
- Let the dough rise: Lightly grease a large bowl, and place dough into the bowl, turning once to coat. Cover the bowl and allow it to rise until doubled in size, about 1 to 1 1/2 hours.
- Prepare Pan: Grease a 9×13 baking pan with non-stick spray or butter.
- Make filling: Place butter, sugar, cocoa, and vanilla in a mixing bowl and beat until combined. It should be a very soft paste that you will be able to spread easily.
- Roll out the dough: Turn the dough out onto a lightly floured surface, and roll out the dough into an 18×12 inches rectangle.
- Spread filling: Spread the dough with the softened butter mixture leaving about a ½-inch border at the top long edge. Sprinkle the chopped chocolate over the butter, pressing down lightly to adhere.
- Cut rolls: Starting on the long edge with filling, roll up the dough tightly into a log. Pinch the dough to seal. Using a serrated knife cut the log into 12 equal rolls. Place rolls into the pan spiral side up. Cover the baking dish and let rise in a warm, draft-free place for 45 minutes until the rolls are slightly puffy, and nearly doubled in size.
- Bake rolls: Preheat the oven to 350°F/177°C. Bake rolls in the preheated oven for 30-35 minutes until golden brown. Let cool in the pan for about 20 minutes, then spread glaze on.
- Make the glaze: In a small bowl whisk together the powdered sugar, cocoa powder, vanilla, and milk. Adjust the consistency if needed by adding a bit more milk. Spread on top of the cinnamon rolls.
Notes
- The dough will be sticky at first, and get less sticky as you knead, so add extra flour a tablespoon at a time if needed.
- Do not use more than 5 cups of flour and do not over-knead or your dough will become dense and chewy!
- If using active dry yeast, the rise time may take longer.
- Prep Time: 20 minutes
- Cook Time: 35 minutes
- Category: Dessert
- Method: Baking
- Cuisine: American
Nutrition
- Serving Size: 1 roll
- Calories: 250
- Sugar: 15 g
- Sodium: 150 mg
- Fat: 8 g
- Saturated Fat: 5 g
- Unsaturated Fat: 2 g
- Trans Fat: 0 g
- Carbohydrates: 37 g
- Fiber: 1 g
- Protein: 4 g
- Cholesterol: 40 mg