Follow Me On Social Media!

Fat Cake: Irresistibly Moist and Decadent Comfort Treat
Introduction to Fat Cake
Embarking on a journey through the world of fat cake is like stepping into a nostalgic realm filled with rich flavors and cherished memories. Originating from the heart of African cuisine, this delectable dessert brings together a unique blend of ingredients that create layers of taste and texture, forming an experience that can only be described as comforting. It’s the kind of cake that evokes childhood memories of family gatherings, celebrations, and shared smiles around the table.
As you take your first bite, the moist and dense texture envelops your palate, introducing notes of sweet vanilla and a hint of nutmeg. The combination of these flavors transports you back to simpler times, perhaps to your grandmother’s kitchen, where the aroma of freshly baked goods filled the air. Who wouldn’t be reminded of those blissful afternoons spent indulging in homemade treats while laughter echoed among family and friends?
The beauty of fat cake lies not just in its pleasant taste but also in its versatility. Whether enjoyed as a dessert paired with a cup of tea or transformed into a decadent treat adorned with chocolate or whipped cream, this cake adapts beautifully to any occasion. You can even customize it by adding nuts, dried fruits, or spices, allowing you to experiment while honoring tradition.
Historically, the concept of “fat” in fat cake often refers to the rich ingredients used in its making, such as butter or oil, which contribute to its dense and satisfying texture. Every family seems to have its own beloved recipe, passed down through generations, adding a personal touch that makes each version unique.
So, as we dive into the steps of creating this delightful fat cake, prepare not just for a culinary endeavor but for a sweet journey that resonates deeply with the joy of sharing good food. With each slice, you’ll uncover a blend of history, culture, and comfort, reminding you that some experiences, much like good food, are best savored together.
Key Ingredients for Fat Cake
Creating the perfect fat cake isn’t just about following a recipe—it’s about incorporating quality ingredients that add depth and flavor. Let’s dive into what you’ll need to craft this delicious treat!
-
Flour: I always opt for all-purpose flour, as its versatility gives the cake a sturdy base. If you’re gluten-free, feel free to use a gluten-free flour blend; it works just as beautifully!
-
Sugar: A combination of granulated and brown sugars enhances the cake’s sweetness and adds a rich depth of flavor. The brown sugar brings those lovely caramel notes!
-
Butter: Butter is essential—not only does it create a moist texture, but it also imparts a richness that makes every bite indulgent. Don’t skimp on quality here!
-
Eggs: Eggs provide structure and help the fat cake rise. I usually use large eggs, as they yield the best results in texture and moisture.
-
Milk: For the ultimate tender crumb, whole milk is my go-to. It enriches the batter and keeps your cake incredibly moist.
-
Baking Powder: This is what gives your fat cake its lift! Always check that your baking powder is fresh to ensure the best results.
These ingredients come together to create a delightful treat that’s not only satisfying but also a true crowd-pleaser.
Why You’ll Love This Fat Cake
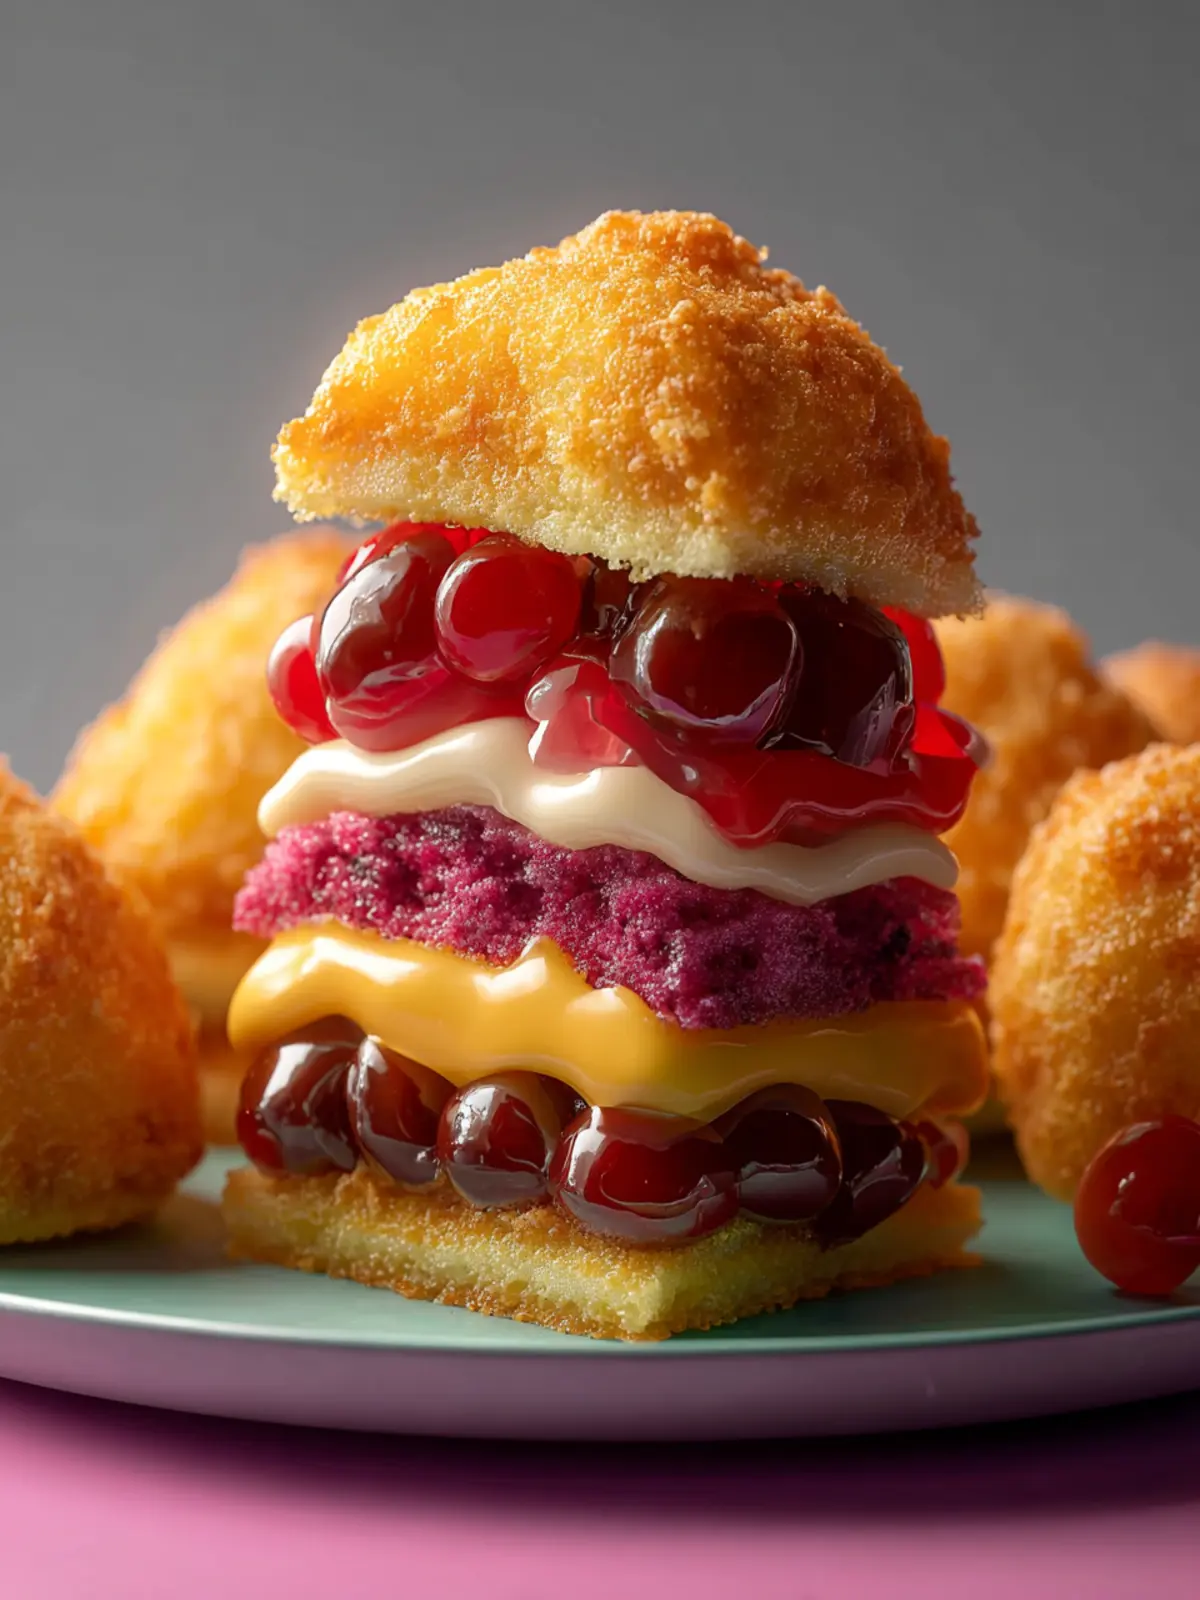
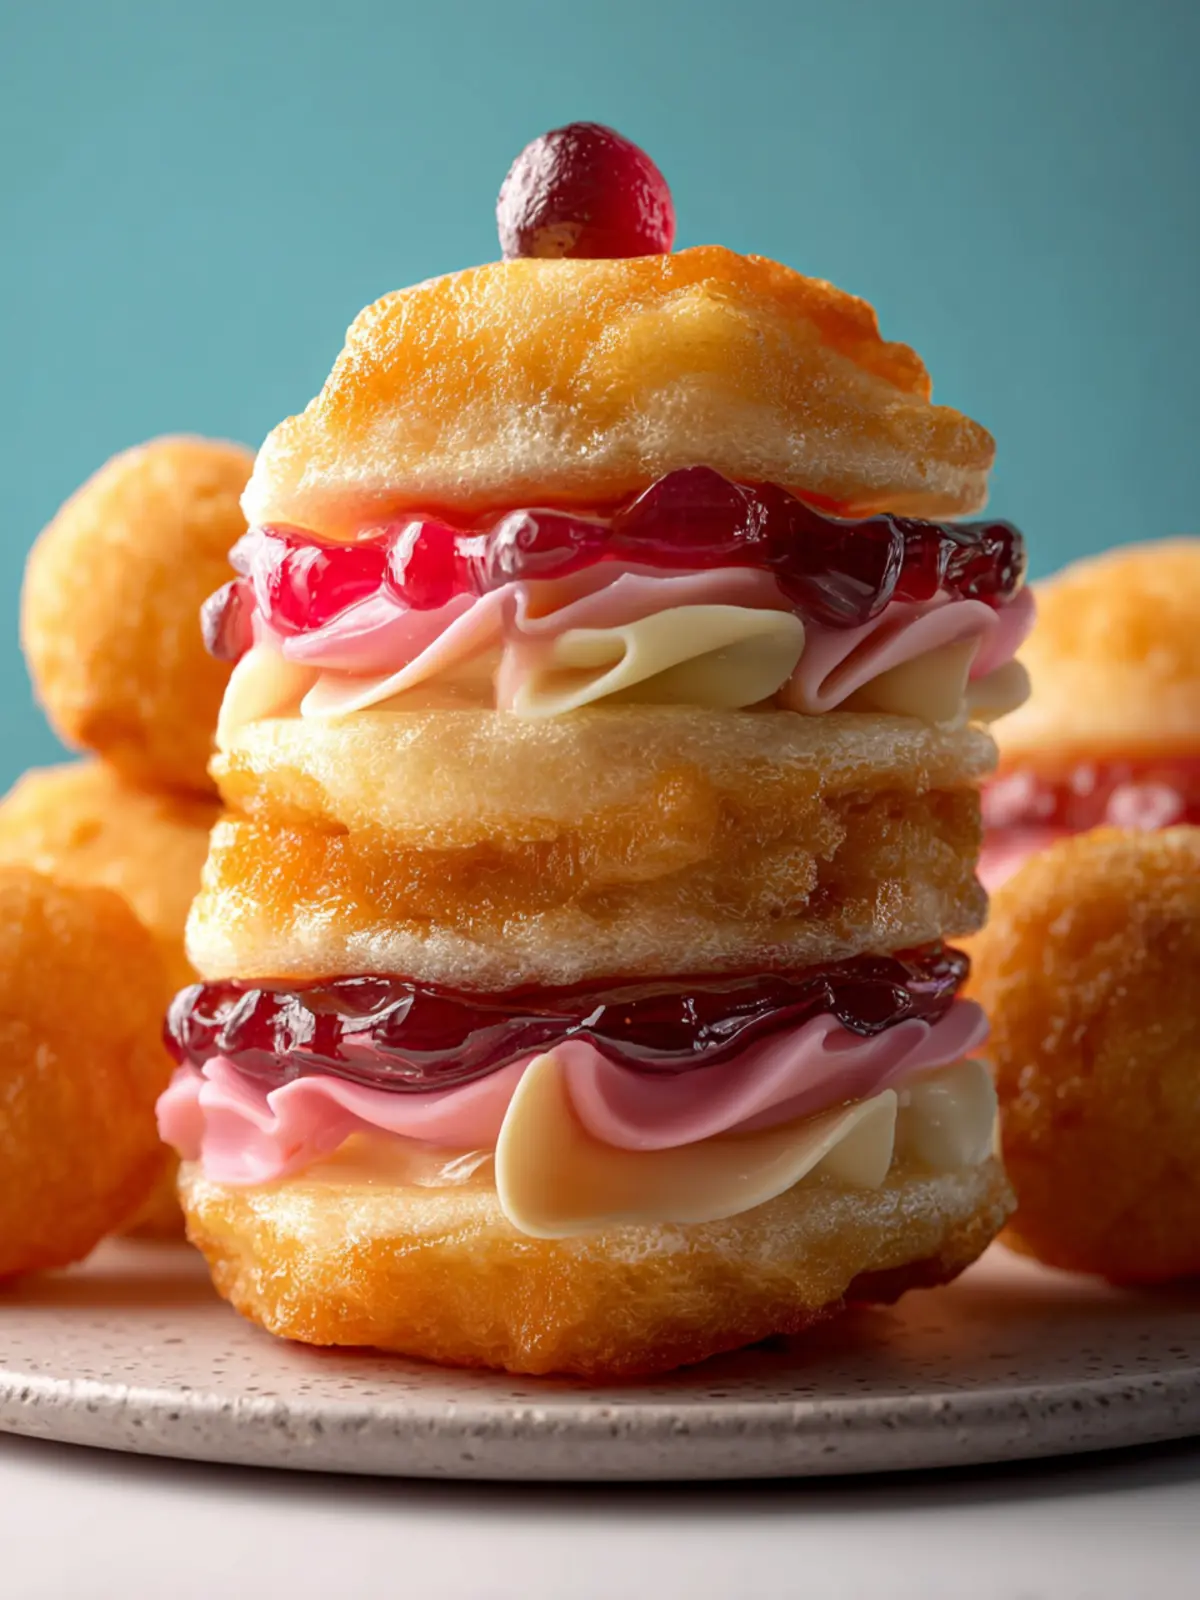
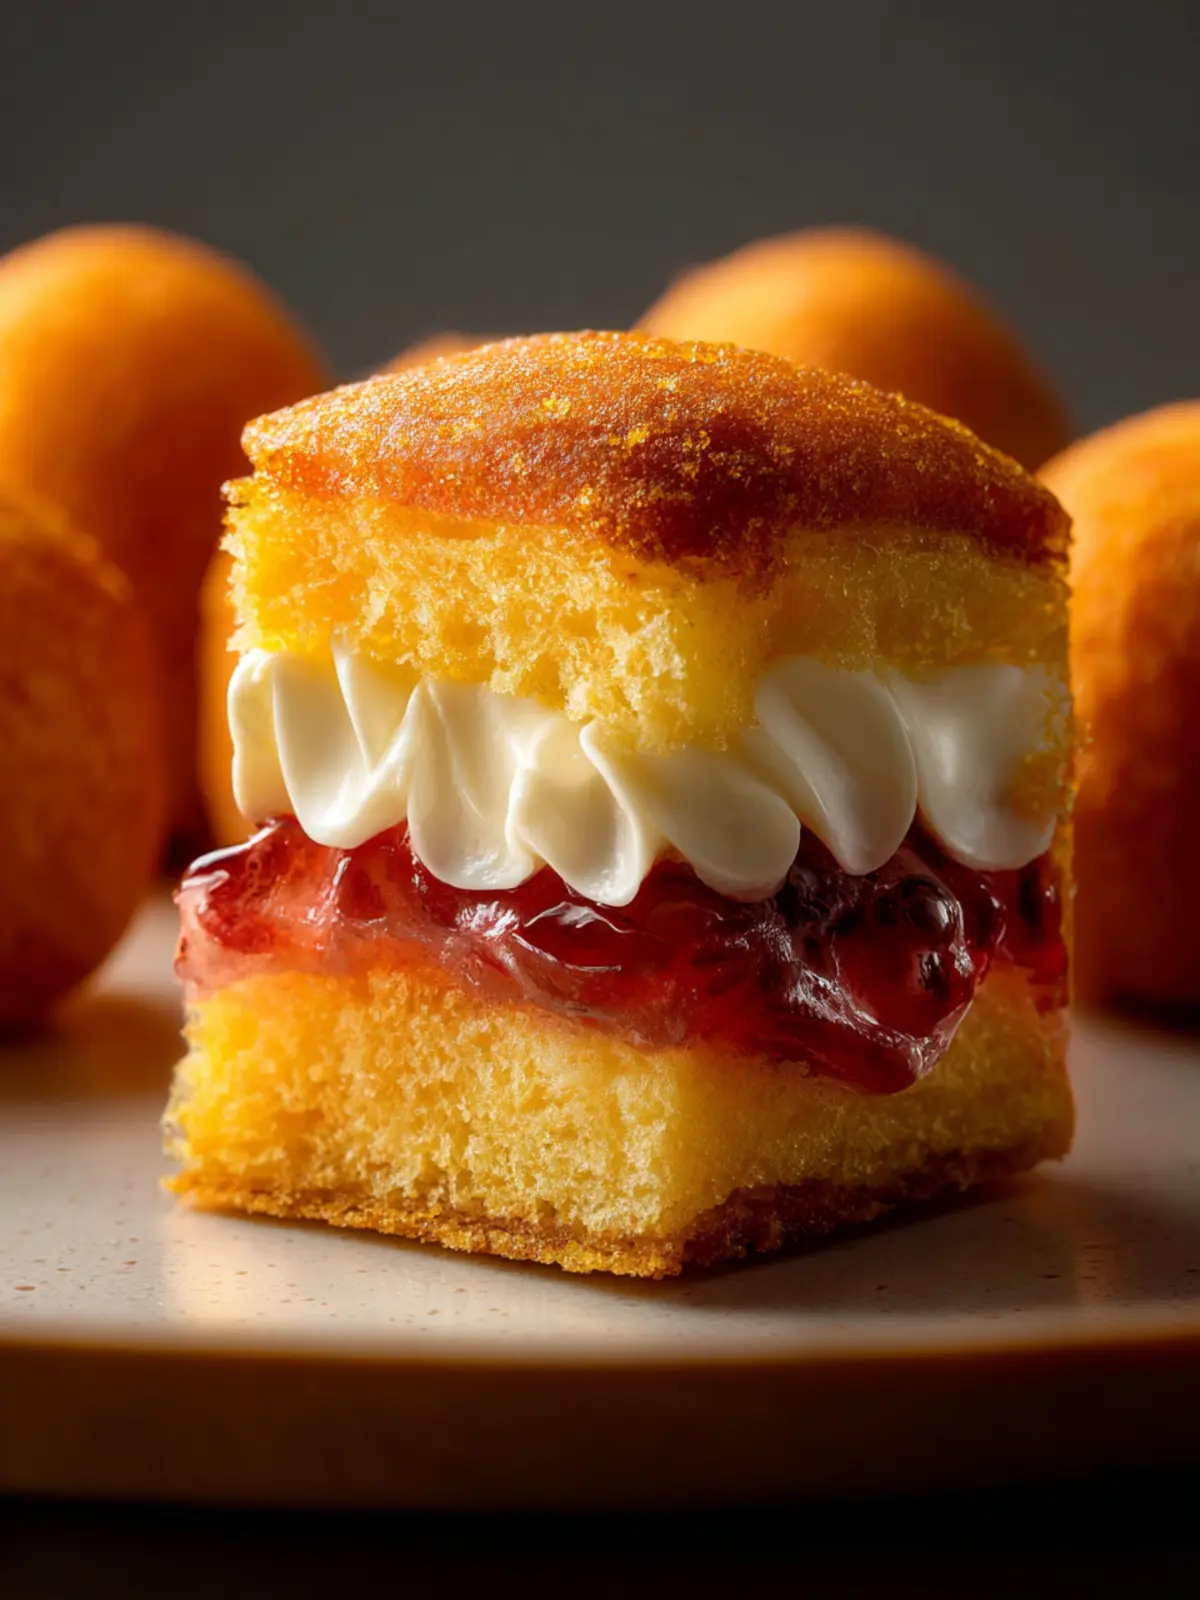
When you take your first bite of fat cake, you’ll discover a delightful blend of crispy exterior and soft, fluffy insides. Picture it: golden-brown dough, lightly dusted with sugar, paired with your favorite jam or just enjoyed on its own. It’s these moments that remind us why comfort food holds a special place in our hearts.
Comfort Food with a Twist: The warmth of fried dough
The wonderful thing about fat cake is its versatility; it’s more than just a snack—it’s a warm hug on a plate. This fried dough treat, often enjoyed in various cultures, encapsulates the essence of hospitality and love in every bite. It’s not just satisfying your hunger; it’s evoking cherished memories.
- Fried to perfection: Each piece of fat cake is deep-fried, creating a beautifully crispy texture that’s as delightful to the eyes as it is to the palate.
- Customization is key: Whether you prefer a sprinkle of powdered sugar, a drizzle of honey, or a dollop of your favorite jam, you can make this dish uniquely yours.
- Perfect for gatherings: Serve these delightful treats at parties or warm them up for a cozy night in. They’re sure to bring smiles to everyone around the table.
You’ll never forget the joy a simple bite can bring—this is why you’ll love making and savoring your own fat cake.
Variations of Fat Cake
When it comes to fat cake, the possibilities are as endless as your imagination. This delightful treat invites you to explore and experiment with flavors that resonate with your palate or honor family traditions. Here are some creative options to customize your cake.
Adding Flavors and Personal Touches
-
Fruits: One fantastic way to infuse flavor into your fat cake is by adding pureed fruits like mashed bananas, applesauce, or even ripe peaches. These ingredients not only add moisture but also a natural sweetness that pairs beautifully with spices.
-
Spices: Don’t shy away from spices! A dash of cinnamon or nutmeg can elevate your cake, bringing warmth and depth. For a zingy twist, consider adding lemon or orange zest to brighten the flavors.
-
Nuts: Adding chopped nuts such as walnuts, pecans, or even almonds provides a delightful crunch and rich flavor. They also introduce nutritional benefits, making your dessert a bit more wholesome.
-
Chocolate: How about introducing cocoa powder for that rich mocha vibe? You could even swirl chocolate syrup into the batter for a beautiful marbled effect.
-
Frosting and Toppings: Consider topping your fat cake with a simple glaze of powdered sugar and milk or a decadent cream cheese frosting. Even a light dusting of powdered sugar can make a big difference, enhancing its visual appeal.
Ultimately, while the classic fat cake is a charm on its own, these variations invite you to create a dessert that truly reflects your style and taste. What flavors will you explore next?
Cooking Tips and Notes for Fat Cake
Creating the perfect fat cake can feel like an art form, but don’t worry; with some helpful tricks up your sleeve, you’ll master this delightful treat in no time. Let’s dive into some essential tips to ensure your cake is nothing short of fabulous!
Ensuring Perfection Before Frying
The cooking process can make or break your fat cake, so here are my top pointers to get it just right:
-
Check the Oil Temperature: Before you start frying, it’s crucial to ensure your oil reaches the right temperature. Ideally, it should be between 350°F to 375°F (175°C to 190°C). If the oil is too hot, your cake will brown too quickly and may stay raw inside; too cool, and it will absorb excess oil. A simple test is to drop a small piece of dough in—if it sizzles and rises to the surface, you’re good to go!
-
Don’t Overcrowd the Pan: Allow enough space between each piece in the pan. Overcrowding can cause the oil temperature to drop, resulting in greasy fat cakes. Fry in batches if necessary to maintain that crispy texture.
-
Rest and Drain: After frying, let your fat cakes rest on paper towels to absorb excess oil. This step is vital to maintain their texture.
With these tips, you’ll be well on your way to frying fat cakes that are golden, fluffy, and irresistibly delicious! Cooking is all about experimenting, so don’t hesitate to make the recipe your own. Enjoy!
Serving Suggestions for Fat Cake
Choosing ways to enjoy fat cake can elevate the experience beyond its delightful flavor. Whether you’re sharing a snack with friends or indulging solo, the right pairing can create a sensation.
Pairing Fat Cakes with Dips and Toppings
-
Savory Dips: For a delightful twist, consider serving your fat cakes with dips like spicy salsa or creamy guacamole. The warmth of the cake complements the chill of the dip, creating a delightful contrast.
-
Sweet Toppings: If you’re leaning towards a sweeter experience, drizzle them with honey or maple syrup. This adds a luscious, sweet note that contrasts beautifully with the cake’s rich flavor.
-
Fresh Fruits: Top your fat cakes with slices of ripe fruits such as strawberries or bananas for a fresh burst. The sweetness from the fruits enhances the overall taste, making each bite even more enjoyable.
Incorporate these pairings to explore the versatility of fat cake, elevating its charm and making it the highlight of any gathering!
Time Breakdown for Fat Cake
When baking a delicious fat cake, understanding the time commitment can make your experience smoother and more enjoyable. Let’s take a closer look at the different stages of making this delectable treat.
Preparation time
Setting aside about 20 minutes for preparation is key. This includes gathering all your ingredients, measuring them, and mixing the batter. A little bit of organization now will pay off later when you’re ready to bake!
Rising time
Patience is essential during the rising phase, which typically takes around 30 to 45 minutes. This is when your fat cake truly comes to life, developing that fluffy texture we all cherish. Keeping it in a warm area can encourage the dough to rise perfectly.
Cooking time
For the final step, plan on baking your fat cake for about 25 to 30 minutes. The goal is a golden-brown finish that signals it’s ready to be enjoyed. So, grab your favorite toppings and get ready for a slice of heaven!
Nutritional Facts for Fat Cake
Exploring the fat cake might just be the start of a delicious journey. As with any indulgent treat, understanding its nutritional profile can help you enjoy it while keeping your health goals in sight.
Calories
A single slice of fat cake typically contains around 350 calories. This makes it a satisfying treat when you’re looking to indulge without going overboard.
Carbohydrates
With approximately 45 grams of carbohydrates per slice, this cake provides a quick source of energy, perfect for those days when you need a pick-me-up.
Sugar Content
Each serving contains about 20 grams of sugar, balancing sweetness with richness. It’s the perfect touch to make this cake irresistibly delicious, yet a modest amount allows you to enjoy it without guilt.
With these nutritional facts in mind, savor each bite of your fat cake and share it with friends for an enjoyable dessert experience!
FAQs about Fat Cake
When diving into the delightful world of fat cake, it’s natural to have a few questions, especially if you’re baking it for the first time. Here are some common inquiries I often hear, along with some friendly advice.
Can I freeze fat cakes for later?
Absolutely! One of the wonderful things about fat cake is that it freezes beautifully. Just make sure it’s completely cooled first, then wrap it tightly in plastic wrap or aluminum foil before placing it in an airtight container. When you’re ready to enjoy it, let it thaw at room temperature or pop it in the microwave for a few seconds to refresh its moist texture.
What can I use if I don’t have a stand mixer?
If you don’t have a stand mixer handy, no worries! A hand mixer works just as well for blending the ingredients. Alternatively, you can use a whisk and some good old-fashioned elbow grease. Just ensure that the butter is softened to room temperature; it will make mixing by hand much easier and will help achieve that rich, fluffy texture you want in your fat cake.
Are there gluten-free options available?
Yes! If you’re looking to make a gluten-free version of your fat cake, consider using a 1:1 gluten-free flour blend. Many brands offer great substitutes that will work well in this recipe, just keep an eye on the texture. Also, always check the labels of other ingredients to ensure they’re gluten-free.
Feel free to experiment and ask questions; baking is all about finding what works best for you!
Conclusion on Fat Cake
Recapping flavors and fond memories
As we conclude our journey with fat cake, it’s impossible not to recall the rich flavors and warm memories tied to this delightful treat. From the first bite, the buttery sweetness envelops you, reminiscent of family gatherings where laughter mingled with the aroma of freshly baked cake. The subtle hints of vanilla and the moist crumb create a cozy feeling that wraps around you like a favorite blanket. Each slice you share cultivates connections, sparking joy and nostalgia, reminding us that food is more than sustenance—it’s a bridge to cherished experiences. So, the next time you indulge in fat cake, you’re not just savoring a dessert; you’re celebrating life’s moments.
Print
Fried Dough Balls
- Total Time: 2 hours 35 minutes
- Yield: 12 servings 1x
- Diet: Vegetarian
Description
Delicious fried dough balls that are golden on the outside and soft on the inside, perfect for any occasion.
Ingredients
Scale
- 4 cups bread flour
- 4 teaspoons dry active yeast
- 7 tablespoons granulated sugar
- 1 ½ teaspoons salt
- 1 ½ cups lukewarm water
- 2 quarts fry oil (canola, sunflower, peanut, or safflower)
Instructions
- Place 2 tablespoons sugar and the dry active yeast in the bowl of a large stand mixer. Add lukewarm water to the bowl, and allow the mixture to foam for 10 minutes, to activate the yeast. Water that is too warm will kill the yeast, causing it to not rise. Make sure the water is just barely warmer than the temperature of your skin.
- Add the remaining sugar and salt to the yeast mixture. Then place a bread hook on the mixer and turn on low. Slowly add the 4 cups of bread flour to the mix. Once the dough comes together allow it to knead for 5 minutes. The dough will be wet and tacky. If it looks dry, add a little more water to the dough.
- Remove the bread hook and cover the bowl with plastic wrap. Then allow it to rise for 1 to 2 hours, until double in size.
- Once the dough has risen, set a large pot over medium to medium-low heat. Attach a cooking thermometer to the side of the pot and pour in the oil. Allow the oil to rise to 350°F. Place a plate lined with paper towels on the side of the stove.
- Once the oil is at the right temperature, use a 1 ½ to 2 tablespoon scoop to portion out pieces of the wet dough. Dunk the scoop in the fryer oil, if needed, to coat it so that the dough does not stick to the scoop. Place the balls into the fry oil and rotate immediately. Continue to portion out balls of dough, gently placing them in the fryer oil. Use a skimmer to rotate the balls throughout the cooking process so that they are evenly golden on all sides. Cook for 4-5 minutes until a fork inserted into the center of one ball comes out clean. The temperature will drop once the dough balls are in the oil. This is a good thing! Adjust the temperature to keep the oil around 320°F if possible. Use the skimmer to move the fried dough balls to the plate. Repeat with the remaining dough, dunking the scooper into the fry oil as needed.
Notes
- Make sure your water is not too hot to avoid killing the yeast.
- If the dough looks dry, add more water slowly until it reaches the desired consistency.
- It’s essential to maintain the oil temperature for even cooking.
- Prep Time: 15 minutes
- Cook Time: 20 minutes
- Category: Desserts
- Method: Frying
- Cuisine: American
Nutrition
- Serving Size: 1 ball
- Calories: 150
- Sugar: 3g
- Sodium: 100mg
- Fat: 7g
- Saturated Fat: 1g
- Unsaturated Fat: 5g
- Trans Fat: 0g
- Carbohydrates: 18g
- Fiber: 1g
- Protein: 3g
- Cholesterol: 0mg